Understanding Drywall Painting Basics
What Is Drywall Painting?
Drywall painting is a crucial step in the finishing process of interior walls and ceilings constructed with drywall (gypsum boards). This activity not only enhances the aesthetic appeal of your space but also protects the drywall from moisture and damage. The process involves several key actions, including preparing the surface, applying primer, and then choosing and applying the appropriate paint. A well-executed drywall painting project can transform a dull, unfinished wall into a vibrant, welcoming canvas for your home.
Essential Tools for Effective Drywall Painting
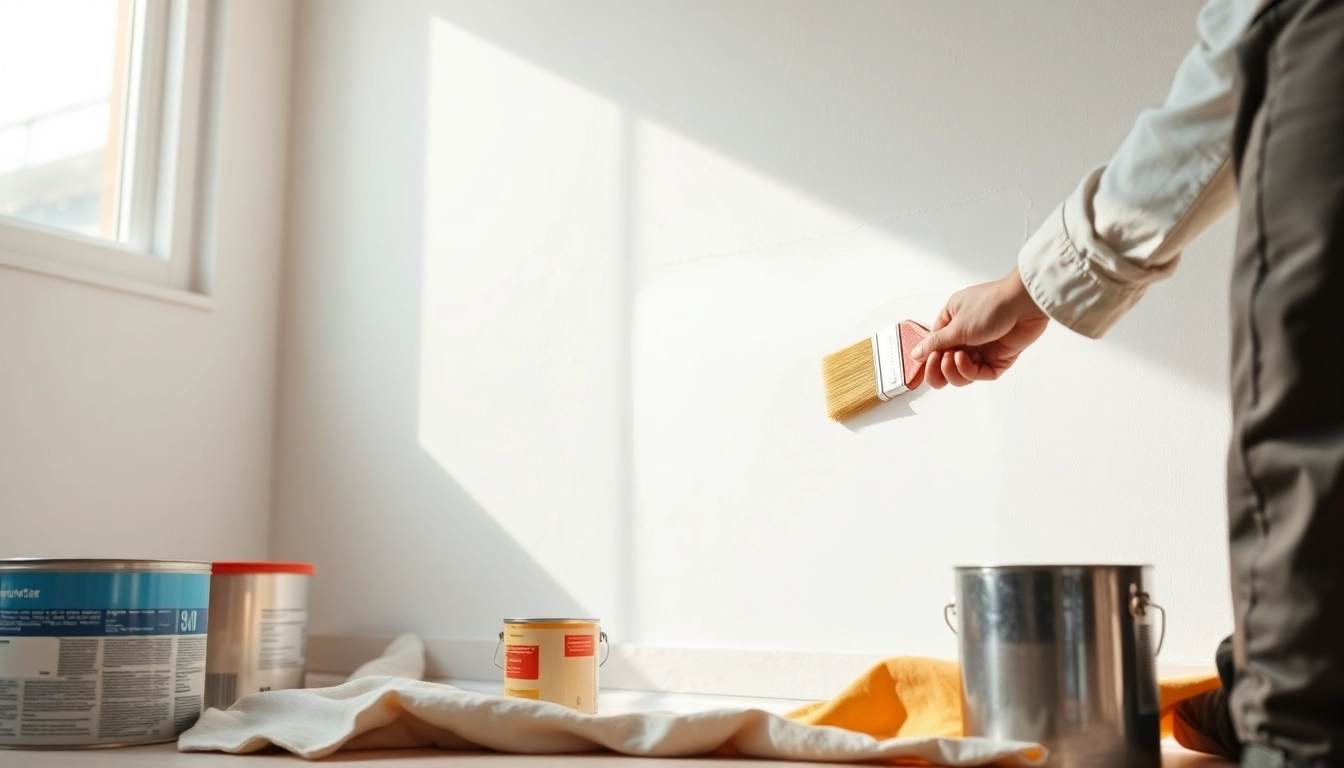
To achieve a professional finish when painting drywall, you’ll need the right tools. Essential items include:
- Paint Rollers: Ideal for covering large wall areas quickly and evenly.
- Brushes: Useful for corners, edges, and touch-ups. A 2 to 3-inch angled brush is great for cutting in.
- Droplight: To ensure your work area is well-lit and free of shadows.
- Primers: A quality primer helps seal the drywall and provides a solid base for the paint.
- Sandpaper: To smooth out imperfections before priming and painting.
- Drop Cloths: To protect floors and furniture from paint splatters.
- Masking Tape: For crisp edges around trim and other non-painted surfaces.
- Paint Tray: For easy roller access to your paint.
Your Go-To Drywall Paint Options
When selecting paint for your drywall, consider options that complement both your style and the practicality of the space. Here are key types of paint to choose from:
- Latex Paint: Water-based, easy to clean, and dries quickly. It’s best for interior walls and comes in a variety of finishes from flat to glossy.
- Acrylic Paint: Best for areas that may experience moisture, such as bathrooms and kitchens. It’s durable and provides excellent coverage.
- Specialty Paints: These include paints specifically designed for high-traffic areas or with added features, such as mildew resistance.
- Eco-friendly Paints: Low in volatile organic compounds (VOCs), these options are great for healthier indoor air quality.
Preparing for the Painting Process
Proper Drywall Preparation Techniques
Preparation is critical in drywall painting. The success of your painting project hinges on the meticulousness of this phase. Start by cleaning the drywall surfaces to remove dust and debris, using a vacuum or damp cloth. Then, check for any imperfections such as cracks or holes and fill them with a joint compound. After the compound dries, sand it smooth. It’s advisable to wipe the walls down again to remove any dust accumulated during sanding.
Priming Drywall for Optimal Results
Priming is a non-negotiable step in drywall painting that often gets overlooked. A quality primer not only enhances the adhesion of your paint but also ensures that the final color appears vibrant and true. It’s particularly important for bare drywall, as the porous surface can absorb paint unevenly. Apply a coat of primer using a roller for the large areas, and use a brush for corners and edges. Allow it to dry completely before proceeding with the paint application.
Choosing the Right Primer for Drywall Painting
Selecting the appropriate primer can make all the difference. Here are some popular options:
- PVA Primer: Ideal for new drywall, as it seals the surface and prevents paint from soaking in.
- Oil-Based Primer: Great for tough stains, it provides excellent adhesion.
- Acrylic Latex Primer: Works well for drywall and is easy to clean up with water.
Painting Strategies for a Professional Finish
Step-by-Step Drywall Painting Guide
To paint your drywall like a pro, follow these comprehensive steps:
- Prepare the Room: Remove or cover furniture and floors. Use drop cloths generously, and tape off trims and edges.
- Prime the Walls: As discussed, ensure you apply a uniform primer coat and allow it to dry thoroughly.
- Cut In: Begin by using a brush to carefully paint around the edges of walls and ceiling fixtures, where a roller won’t reach.
- Roll on Paint: Use a roller to cover large areas. Start from the top corner and work your way down, rolling in a W pattern for even coverage.
- Apply Additional Coats: Depending on your paint and the wall color, you may need to apply multiple coats. Allow each coat to dry as per the manufacturer’s instructions.
Applying Paint: Brushes vs. Rollers
The choice between brushes and rollers comes down to the areas you are painting. Rollers offer quick coverage for large spaces, while brushes are indispensable for detailed work. Consider the type of finish you want—brushing tends to leave visible marks, while rolling gives a more uniform look, particularly with flat or eggshell finishes.
Layering Techniques for Even Coverage
Layering your paint properly ensures a consistent look across your drywall. It’s essential to allow each coat to dry thoroughly before applying the next. A good rule of thumb is two to three coats, particularly with lighter colors over darker substrates. After applying the first coat, inspect for coverage gaps and touch up as necessary before proceeding with the final layers.
Common Mistakes to Avoid in Drywall Painting
Pitfalls in Drywall Preparation
Common missteps during preparation can lead to disastrous results. Skipping sanding or failing to fill in holes properly can yield a finish riddled with imperfections. Ensure thorough preparation to avoid these pitfalls.
Ignoring Primer: Consequences of Skipping It
Neglecting to prime can result in uneven coverage, poor adhesion, and ultimately, peeling paint. Always remember that primer is your best friend when it comes to painting drywall.
Choosing the Wrong Paint: What to Watch For
Using paint not suited for your space can lead to issues. For instance, high-gloss paint might not be the best option for ceilings, where a flat finish is preferable. It’s crucial to choose paint formulated for the specific conditions of the area you are working on.
Aftercare and Maintenance for Painted Drywalls
Scheduled Touch-Ups and Maintenance Tips
Once your drywall is painted, regular maintenance will keep it looking fresh. Look for touch-up opportunities frequently, especially in high-traffic areas. Sticking to a schedule, like semi-annual checkups, can help you catch any minor damages before they require more extensive repairs.
Repairing Damaged Drywall Paint
If your drywall paint suffers from scuffs or scratches, you can easily fix these problems. A simple touch of the original paint with a brush usually does the trick. For larger damaged areas, you may need to spot prime before repainting.
Optimal Cleaning Methods for Painted Drywalls
Cleaning your painted drywall should be done carefully to avoid damaging the finish. Use a soft sponge or cloth with mild detergent mixed in water. Avoid abrasive cleaners, which can wear away the paint. After washing, rinse the area with clean water and let it dry thoroughly.
For further information on drywall painting, you can explore various resources that share insights and step-by-step guides tailored for different contexts and experiences.